Posting Point
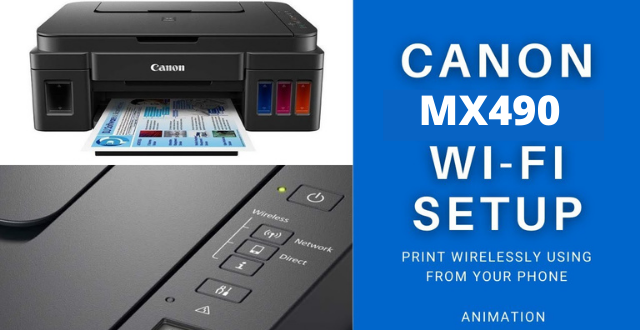
Canon is a Japanese Company which is known to produce World Class products. Users buy such products as they provide them with high-quality machinery. As a user, nothing is more satisfying than this. It has been provided ampler of products that have satisfied various customers. The printers are one of them. The company is producing wireless printers so that the user can access them from anywhere. These printers are very convenient in the current time. Being affordable is one of their benefits, too. Such devices require a setup to function. Let’s look into the Canon MX490 Wi-Fi Setup.
About the Device.
- The device is all-in-one, which means it can be used for printing, scanning, and faxing.
- The has options to get the output, both in color as well as black and white.
- The device works on Wi-Fi, which means it doesn’t need a cable connection via computer to print
- The Wi-Fi connection makes it possible to print with a short distance. This can be done with a mobile phone, tablet, computer, or laptop.
- The device is also small in size and thus, requires less space The weight of the device is also very less. This makes it easily carryable and can be kept at any place having a connection plug to use
- The device also has Google Cloud Print and Air Print. Once you connect to the device, through your account, you can print from long distances also.
Process for the Set-up
For using the device, you will need to connect it with the router. The method for Canon MX490 Wi-Fi Setup is very easy. It can be done by giving certain instructions to your device and your wi-fi. But before doing this you will have to check that you have fulfilled these requirements.
- Requirement for the Set-up
There will be some initial processes that you will have to follow before using the device. The requirements for Canon MX490 Wi-Fi Setup are also important. The initial item that will be required externally is Wi-Fi with a WPS button in it. Within your device, there will be some specific requirements. These include the paper that needs to be installed within the device. Another requirement will be of the ink having the color within it, to be added within the device.
For doing the process the device must be connected to the power supply and turned on. If the screen does not display anything, press the copy button to start it.
The process to connect with the Wi-Fi
You must do some initial items so that you can do the Canon MX490 Wi-Fi Setup. This process will include doing certain settings within your device. The settings play a key role in the overall process.
- Process no.1: Press the button containing tools within this icon. This is the set-up button. It will open up various options for doing the process.
- Process no.2: Choose the first option available on the screen by pressing the ‘Ok’ button. The option will be Wireless LAN Setup. If the given option is not available on the screen, you have to use the two buttons below it. These buttons will contain an arrow facing right and left.
- Process no.3: The Router that you are having must have a WPS button. All you have to do is, press the button for almost 120 seconds. It will activate the process
- Process no.4: Now, within your device, press the ‘OK button. You have to hold the button for a similar period as the wi-fi.
- Process no.5: Let the device get connected to the Wi-Fi. Once it is done, you will see it on the device screen. Press the ‘OK’ button to activate it.
- Process no.6: For doing the final setup, press the ‘Copy’ button from your device.
Alternative Setup by WPS Pin code.
For doing this you will have to change some settings within your device. Once, you have done so, you can connect the Wi-fi by the above-given method.
- Process no.1: After pressing the set-up button within your device, you can attain multiple options. It is done by using the arrow keys. These keys are situated below the screen. Choose the ‘Other Setup Option’ through it.
- Process no.2: Press ‘Ok’ to open up the settings to add the code.
- Process no.3: Now add the code for the set-up. The Wi-Fi connection will show up. You can do the additional setup by pressing the ‘Ok’ button again.
- Process no.4: In this process too, you will have to press the ‘Copy’ button for the final set-up.
Also Read: BlackBerry Classic review